Why hello lovelies! Please step into my parlor.
Hmmm, I’m sensing lots of creepy cookies and sweets in your future. You know, because it’s October and I can FINALLY start posting all sorts of creepy, crawly, and cutesy Halloween posts without shoulder shrugs, eye rolls, and long sighs. Hey, it’s October, I’m allowed now! Dag-nabbit!
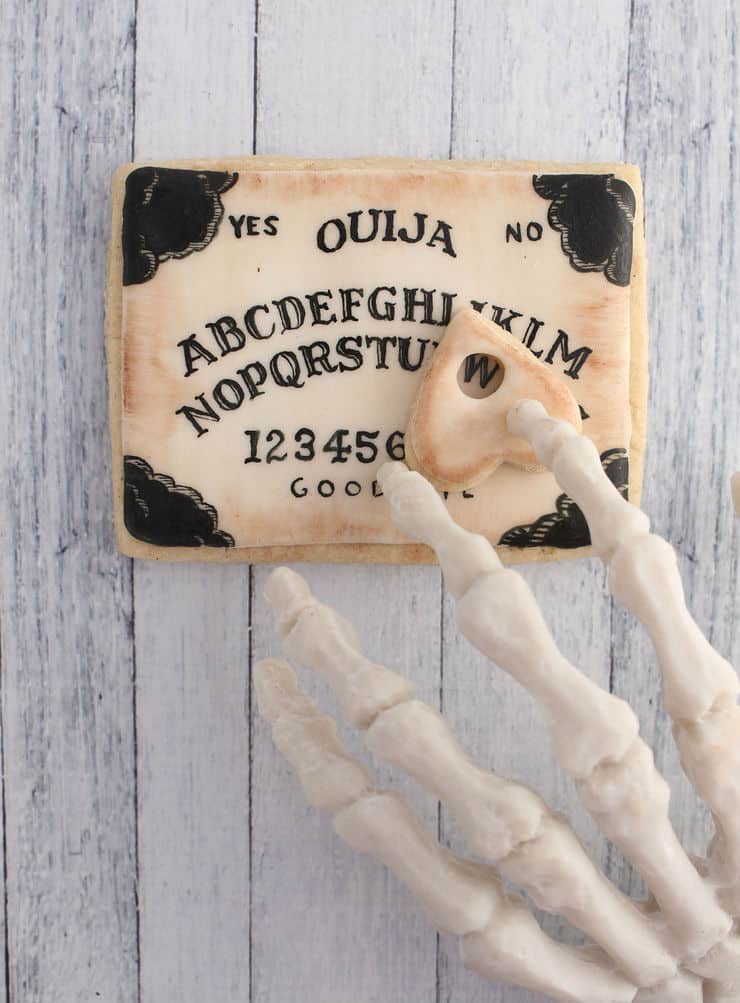
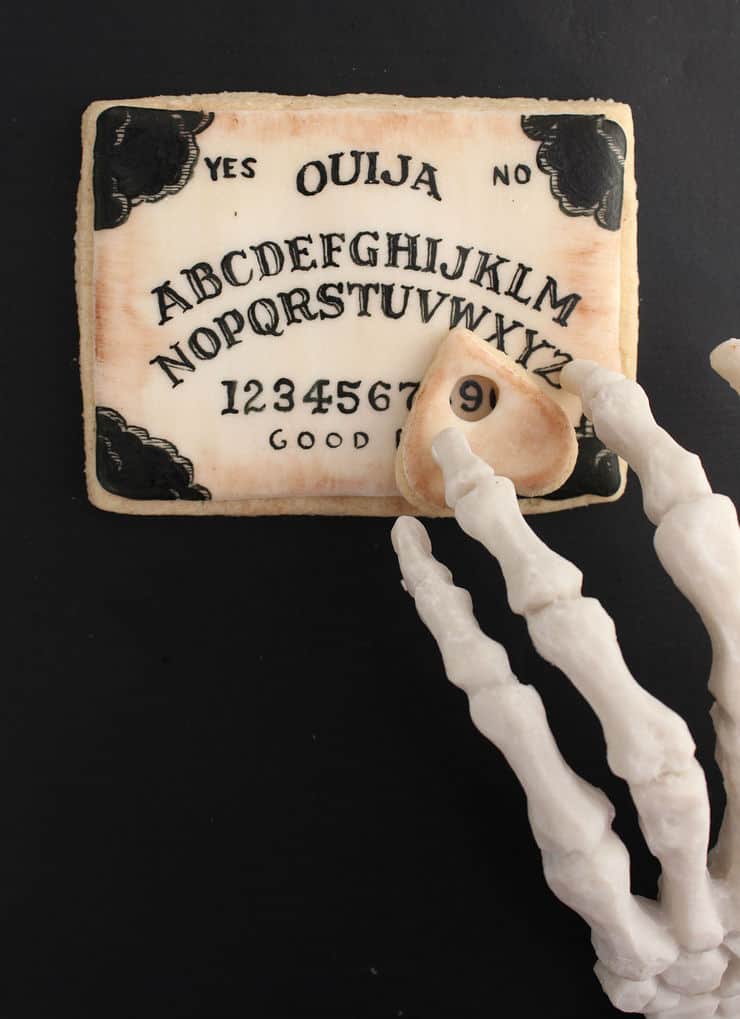
So how about we get this Halloween show on the road with some otherwordly Ouija board cookies? They’re a little bit creepy, a little bit fun, and a whole lotta sweet!

These little guys are perfect for sending as Halloween party invitations, having as party treats, or just creeping out your brother-in-law who has some strange aversion to Ouija boards. It’s not like I’m going to be able to reach out to all the cookies on the “other side,” and bring them back to haunt him… OR AM I?! Mwahahahahaha!
It’s ok, I’d still be his favorite sister-in-law… because I’m his only sister-in-law…. Mwahahaha!
Ouija Board Cookies

- Category: Dessert
Ingredients
- One recipe of cutout cookie dough
- A large rectangular cookie cutter
- A small heart cookie cutter
- One batch royal icing
- Baking cocoa
- Black food gel coloring
- A fine food-only brush
- A flat edge food-only brush
Instructions
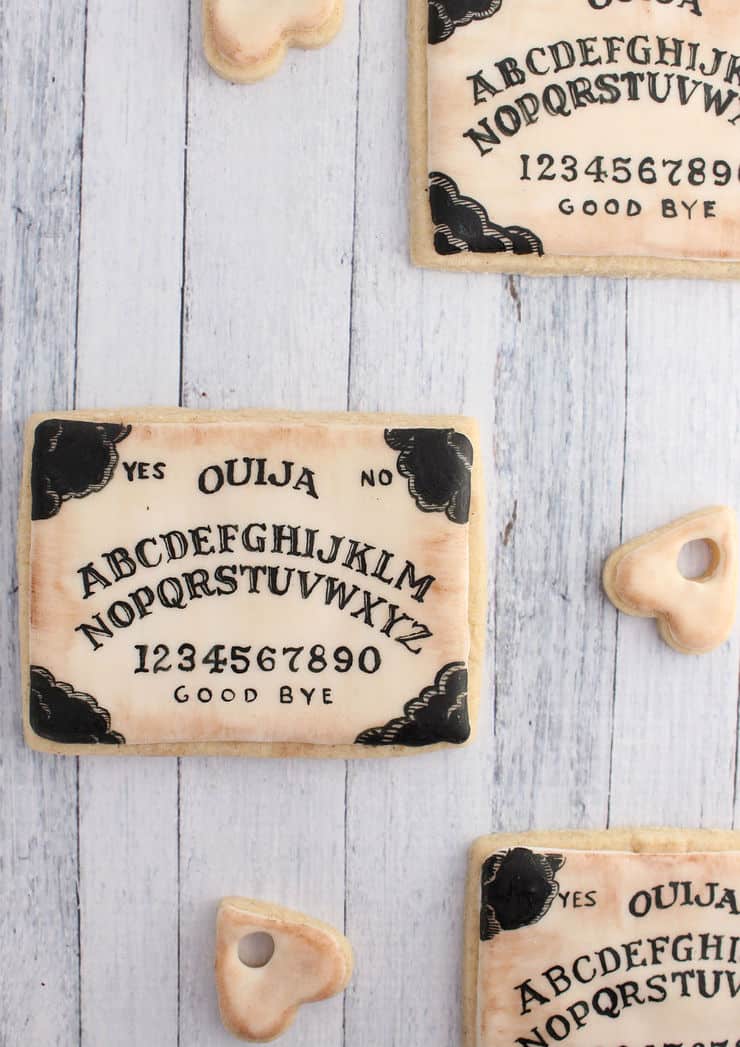
- Make a batch of cookie cutout dough (like pumpkin spice latte cookies). Using your large rectangular cookie cutter (or a sharp knife and a rectangular template) cut out your Ouija boards. Using your small heart cookie cutter, cut out your planchettes. To create the hole in the center, use a small piping tip. Bake the cookies as per the recipe instructions and allow to cool completely before icing.
- Whip up a batch of royal icing. Ice your cookies using your favorite method (piping and flood icing, or using a thicker icing to ice the whole thing without a border). Allow to dry completely before decorating.
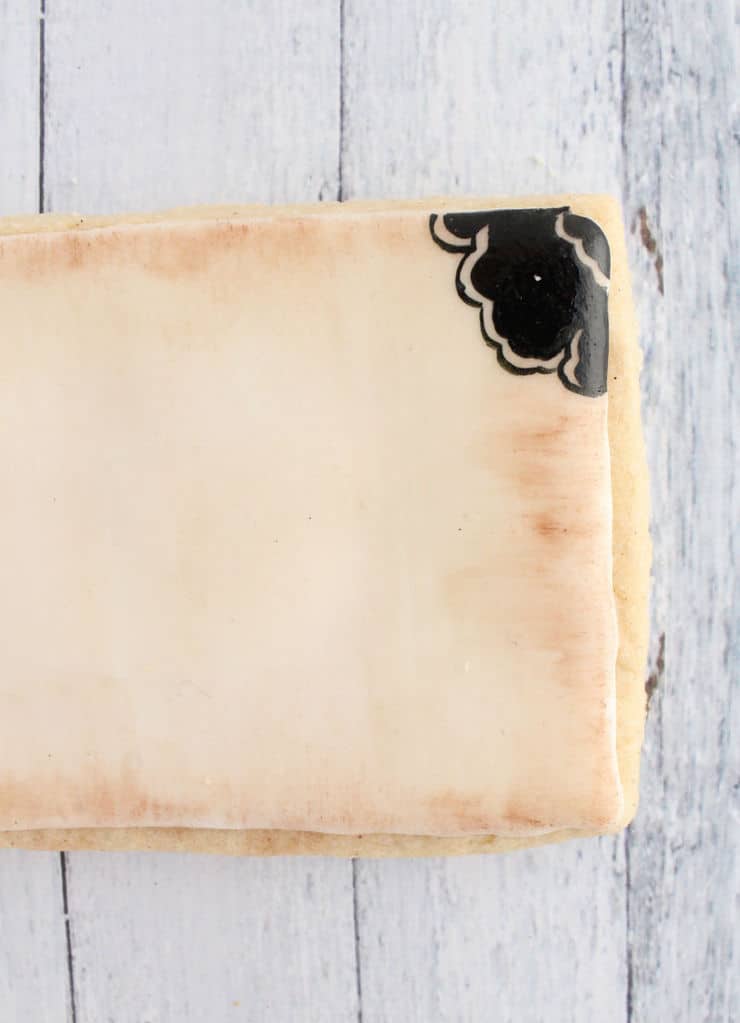
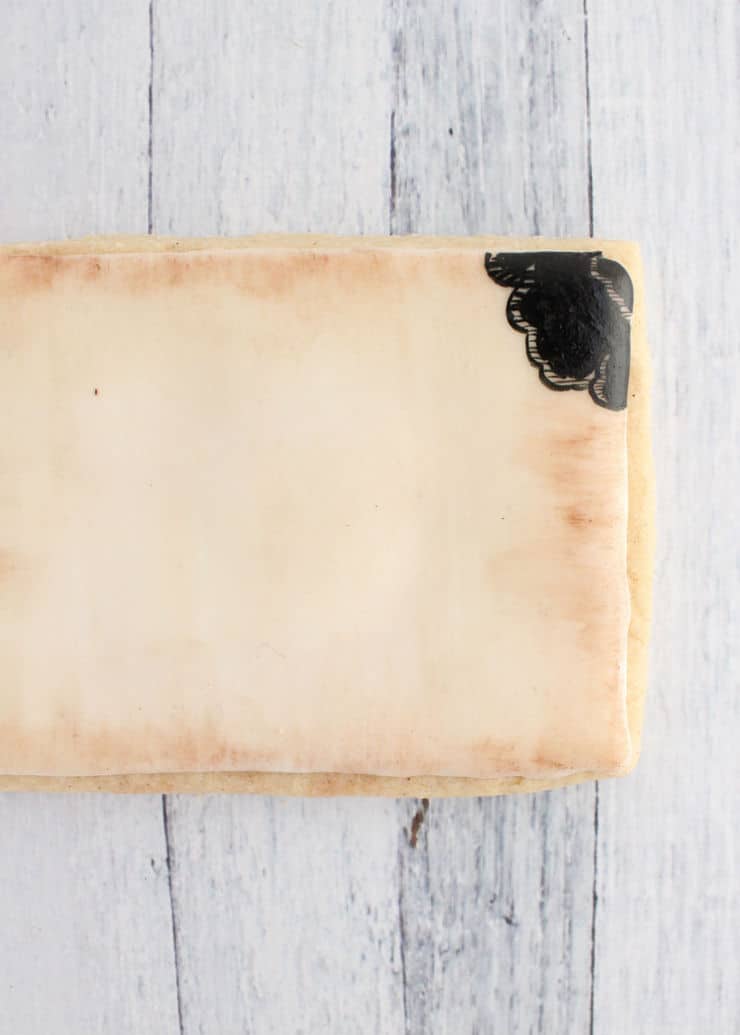
- Mix a little baking cocoa with water to create a light brown, and brush that all over your cookies using a flat edge brush. Once the cookies have dried, come back with a darker mixture of baking cocoa and water to darken the edges. This will make your cookies look old and weathered.
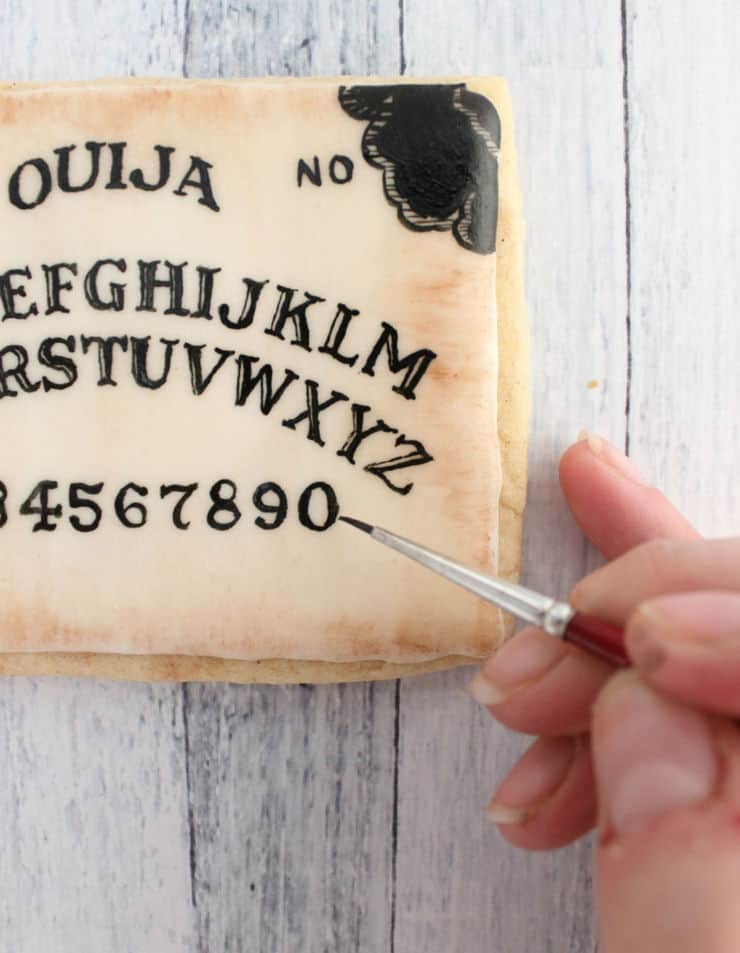
- Using black food gel coloring and a fine brush, start decorating your Ouija boards. To make the clouds, simply create an outline and fill it in leaving a little white space between the outline and the filled in area. Fill that area with fine lines. If you find that your food coloring remains sticky or isn’t brushing easily onto the cookie, just grab a little water with your brush to loosen up the gel a little bit (a little goes a very long ways here). Paint the letters on using whatever font you’d like. If you’re having a hard time keeping everything straight or you find your hand sticking to the cookie, a paper towel under your hand and on top of the cookie is a great tool for fixing both problems.
The post Ouija Board Cookies appeared first on The Simple, Sweet Life.


